This blog is devoted to my John Welsford designed 15' Navigator yawl Ellie. I built her in my garage over a period of 18 months and launched her in 2011. She sports a sliding gunter main, roller furled jib and sprit-boomed mizzen. Her construction is glued-lapstrake over permanent bulkheads and stringers. This blog is a record of her construction and her voyages here in the Puget Sound area and (hopefully) a useful resource for fellow Welsford boat builders.

Tuesday, May 20, 2014

Pull and be Damned

The Pull and be Damned messabout in Anacortes was fantastic.

I am a member of several small boating clubs.  The Coots, the TSCA, the Pocket Yachters.  They all have a slightly different focus, ranging from inexpensive and experimental boats to honoring authentic traditional craft.  From production trailerable cruisers to homebuilts. From power to sail.

But this weekend was my first opportunity to spend a weekend with the Old Anacortes Rowing and Sailing Society OARSS.  The beauty of their boats and their seamanship skills left me awestruck. From deftly launching their craft by crane, to sailing in reverse to make a perfect mooring at a dock, camp cruising, clothesline anchoring, traveling anywhere and everywhere by sail and oar only.  They even rescued a stranded aircraft once.  With just a glance at the sea, they knew how the tides and currents would swirl around the myriad islands that day.  I had nothing I could offer as I spent the weekend in humble admiration of their seamanship skills.

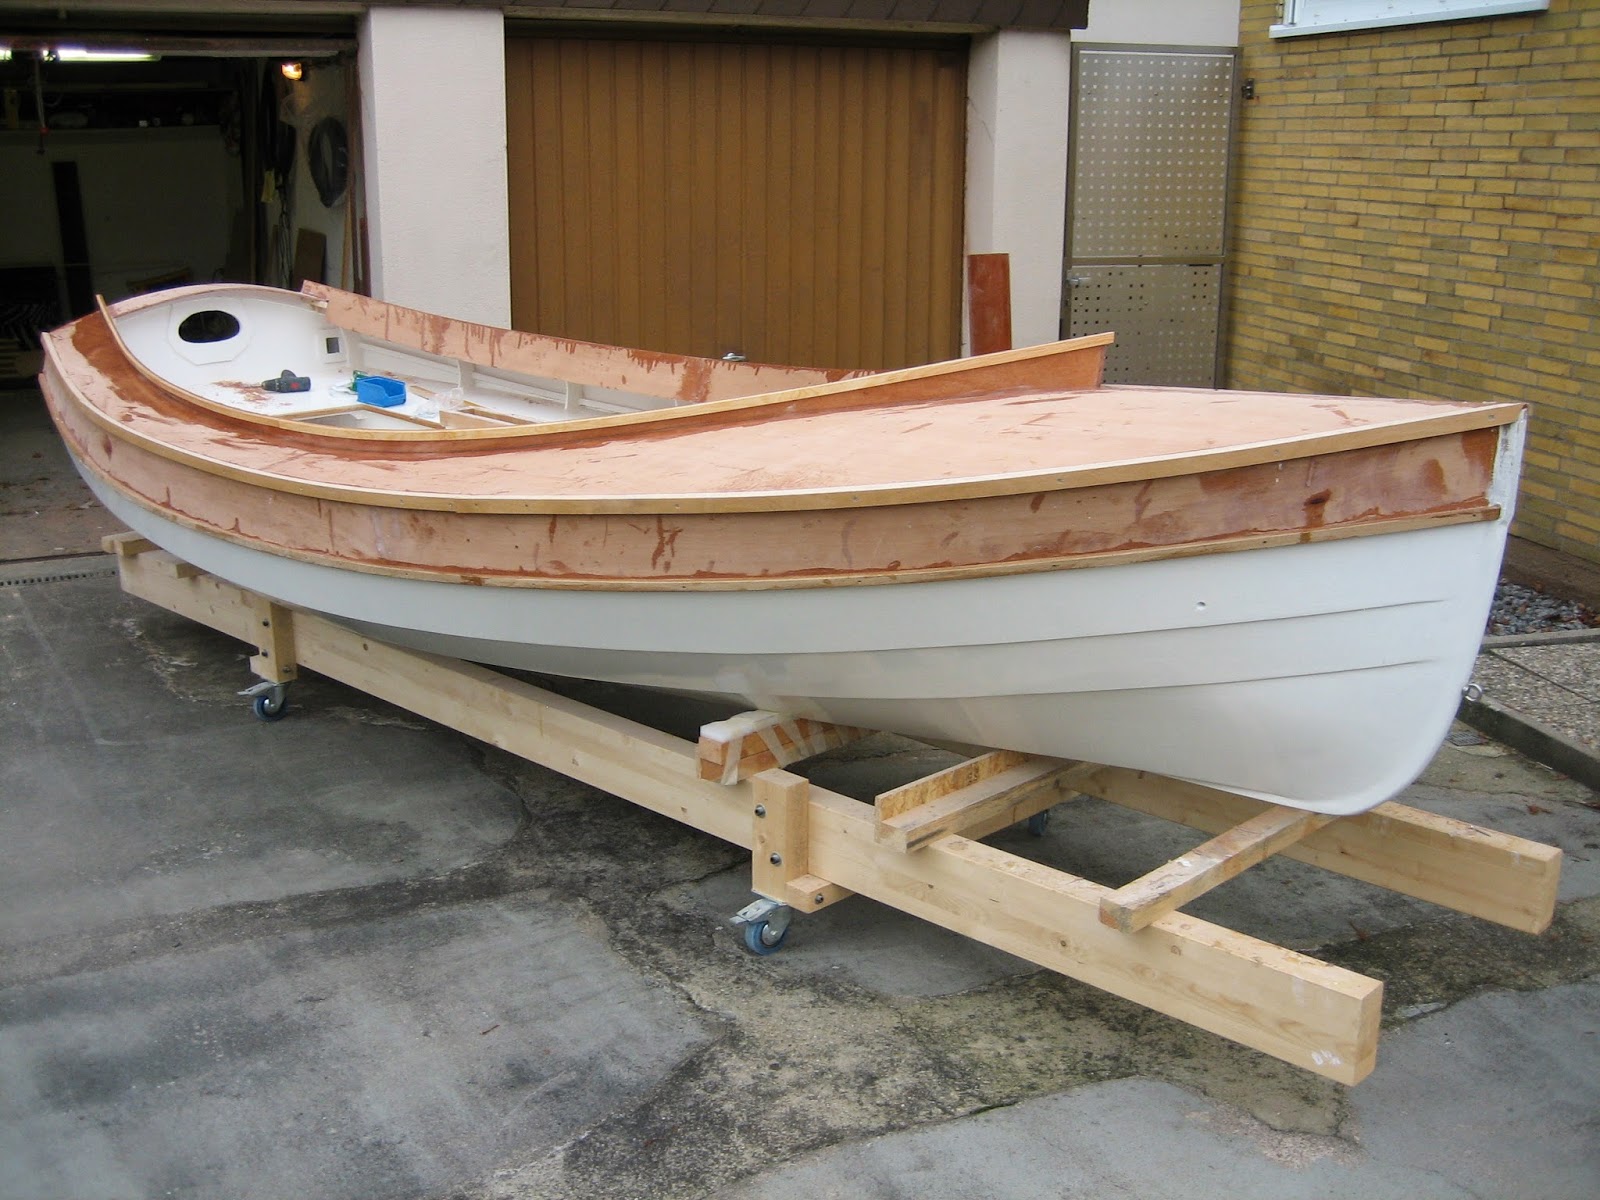
It was also a weekend of many other firsts for my son Tim and I.  The first first (ugh) was Ellie's launching by crane, deftly done by James McMullen (in the red vest) while I nervously tried to assist and learn anyway I could.

(btw, these are all hi-def videos. Click the [ ] in the lower right corner to make them fullscreen)
Relieved at not making a big splash, I headed over and tied up to Small Boat Dock, where the messabout was to be held.  There was my second first (ugh).  I had to rig Ellie on the water.  It took about twice as long as usual, but was a success.  Fortunately there was flat water and no wind.

One by one the remaining boats arrived.  The messabout officially began at 10:00.  Several boats were available for anyone to borrow.  My third first was testing one of the Gentry skin on frame whitehalls. Here are some videos of the event:

The James led a group aboard Island Star, a 4-oared racing gig.  A replica of the worlds fastest boat in 1824.

After the messabout, most of the group headed over to nearby Saddlebag Island for an overnighter.  I've never been to Saddlebag.  Another first!

And yet another first. While there, I got to try out my new Kelly Kettle.  The Kelly Kettle is a cookstove that uses sticks, twigs, and dried leaves for fuel.  It will boil water and heat food at the same time, very quickly.  It also fries and has a BBQ grill.  I used it twice and love it already.

The next morning, the sail and oarsmen set out early for a circumnavigation of Guemes Island.  Simeon Baldwin, with his SCAMP Noddy and I decided to spend the day sailing together instead.
 
And the end portion of this video is really pretty.
This also gave me an opportunity to fully test my tiller locking device.  It works perfectly.
We spent many thoroughly enjoyable hours sailing side by side in the warm sunshine and gentle breeze.  After a while we took a break and hiked over to my favorite bar and grill, The Rockfish, for lunch. The sail and oar group returned from their circumnavigation so it was time to head back to the crane.  Once again, The James came to my rescue, expertly extracting Ellie safely from the water.  Here is a video of Noddy taking flight.

There are some really nice photos of the event over on the Woodenboat Forum.
A fantastic weekend.  Simply fantastic.


Tuesday, May 13, 2014

Pull and be Damned Small Boat Messabout

This weekend's messabout is one that I've been looking forward to for quite some time.  I'm really excited.  It's called Pull and be Damned and it will be held at Seafarer's Memorial Park in Anacortes, WA.


Looking over the posts on the Woodenboat forum, it looks like there will be an impressive selection of drop-dead gorgeous sail and oar boats to drool over.  There will be a potluck bar-b-que, and an optional overnight campout on nearby Saddlebag island.

The event is organized by legendary sail and oarsman James McMullen.  I'm looking forward to hearing firsthand about his recent epic capsize off Port Townsend.

Hopefully the weather will hold out because I plan on taking lots of photos and videos!

Saturday, April 12, 2014

A New Navigator in Germany

Congratulations to Dietmar Edelmann of Viernheim, Germany, on the sucessful completion of his beautiful new Navigator.

The project took 18 months to complete, which seems to be about the average timeframe for the typical family guy with a day job.

Dietmar built his Navigator in a small, single car garage measuring only 18' x 9' (5.5 x 2.7 meters).  Building a Navigator in a small shop like this has been done many times before, but I still find it remarkable every time I see it.

How'd he do it?  Look closely at Dietmar's building jig and you can see how his clever use of locking casters enable him to roll the project out to his driveway for some relaxing and fulfilling woodworking in the fresh air and sunshine.  And adjust the height of the jig too.


Dietmar purchased his sails and rigging from Duckworks, and he says he found my rigging examples helpful.


Dietmar spends his holidays at Lakes Chiemsee, Bodensee and Ostsee in Germany.  Beautiful sailing destinations to be sure.

Sailing a modern classic like Navigator is but one of this electrical machine builder's notable interests.  When he's not sailing you may find him and his wife enjoying themselves in this Western Cub.


Or you may find him enjoying his other modern classics.  These are his 18th and 19th century replicas of old American rifles.  He builds and shoots them himself.


Well done, Dietmar!  I wish you many, many years of smooth sailing aboard your beautiful new Navigator.

Saturday, March 15, 2014

How to build an adjustable tiller lock for a couple bucks

This is my tiller lock.  It is fully adjustable, easy to make, unobtrusive, easily removed and set up, and only costs a few bucks to make.  I'll show you how to make one.


Tiller Locks:

When it comes to tiller locking devices, there's certainly no shortage of them.  Do a Google search for "tiller tamer", or "tiller lock" or something similar, and before you know it you'll have spent your entire day looking at a bewildering assortment of different types, both commercially available and home made.  Don't ask me how I know that.

Tiller locks generally fall into four main categories.


CCCC Small Business Center aids WaveFront success

First, you've got your on-off lever action type, like this TillerClutch for example.  These usually have a lever mounted towards the front of the tiller that allows you to alternate between locking the tiller in place, or allowing it to move freely.  It's always locked or unlocked, there's no in-between. 


tiller lock boxThen there's the Solid Brace type.  These consist of an adjustable rod that goes from the tiller to a box usually mounted on the seat back.  They're designed to be rugged.  The rod doubles as a tiller extender and can be easily detached to unlock the tiller.  The rod's length can be adjusted as needed.


Next, there's the Friction Knob type, like the ever popular Tiller Tamer.  Here, a knob is used to adjust the amount of friction anywhere from very loose to a full lock.


Also using adjustable friction technology are a variety of DIY Shock Cord, Rope and Bungee types, like the Huntingford Helm Impeder.  These are usually home-made and can range from a single piece of rope stretched between two cleats, to devices constructed from bungee cords, fairleads, camcleats, various blocks, plastic hooks, elastic straps, neoprene tubing and other stuff.


Of course they all have their pros and cons.  So how do you decide which one to buy or build?

What makes a good tiller lock (in my opinion):
  • Adjustability means flexibility.  I favor the devices that allow the friction to be adjusted from completely free tiller movement all the way up to a full lock.  Dialing in just enough friction to hold the tiller in place still allows an occasional nudge to adjust the boat's course.  Full lock is needed when the boat is going in reverse. Like when launching or heaving-to for example.
  • Don't get in the way.  Most devices have ropes that lead from the front of the tiller to the sides of the boat that block access to outboard motors, block seats, and so on.  This can be a major drawback on a boat with limited space to begin with.
  • Quickly disabled and enabled.  I want to be able to quickly and easily disable or remove the device when I'm done using it, or in case of an emergency.
  • A DIY solution, inexpensive and easily constructed from readily available parts.
  • Strong, reliable, and should not be ugly.

How my tiller lock works:

My tiller lock is a Friction Knob type.  Tightening the knob pulls up on an eye-bolt, pinching a line against a strip of leather with increasing friction. The amount of friction is fully adjustable from very loose to a full lock.  The friction between the rope and leather is smooth, consistent, and the leather will not wear out any time soon. It is not necessary to locate the tiller lock near the front of the tiller on a boat the size of mine, or on any boat with a well balanced helm.  I located mine slightly forward of my aft coaming and ran the line almost straight across. There, the line is not blocking my way at all but still functions perfectly, so long as I keep the line free of slack. Two jam cleats on my coaming allow me to easily tension the line tightly.  I can instantly remove the device by pulling the line off the jam cleats. A leather washer under the knob protects the tiller from damage and its friction prevents the knob from turning on its own.


Materials needed:

To make my tiller lock all you'll need a stainless steel eye-bolt and a few other small items that you can probably find lying around the house or garage.  The eye-bolt I used is a Stanley V2161 that I got from Lowes for $1.28.  You'll also need a small scrap of leather, a couple stainless steel screws, a short piece of rope, and a couple small scraps of wood.  You may also need to purchase a couple small jam cleats.  The knob can be made from a scrap of wood by tapping a threaded hole in it or using a threaded insert, or you can buy a threaded plastic knob at a hardware store for $2.60 like I did.  Or simply use a stainless steel wingnut.

Building the tiller lock:

The lock is very simple and building it should be quite self-explanatory.  Here is a cutaway diagram of how it goes together:
You'll need to drill a 1/4" hole through your tiller for the eye-bolt.

Make the bottom piece from a scrap of wood measuring 2-1/2" long by 1" high by 3/4" thick.  I used white oak.  Cut a 1/4" slot completely through it, long enough for the eye-bolt to fit through, and counter-bore a couple of screw holes in it. Round off the corners.


Cut a strip of leather as wide as the inside diameter of the eye-bolt and long enough to wrap around the wooden piece.  Leather from an old belt works fine.  Insert the eye-bolt, then add the leather strip, holding it in place with glue or a couple brass tacks. Make a leather washer for under the knob. Drill the hole in the leather washer oversized so the eye-bolt can freely move up and down through it.

Attach to your tiller, kick back and relax!

Friday, February 21, 2014

Navigator Setup Times

A while back, someone on the JW Builders forum asked how long it takes to rig a Navigator for sailing after arriving at the boat launch.  Most owners replied that it took between 20 and 30 minutes, but one owner said it only took him 15 minutes.  It takes me about 30 minutes, but if it can be done in 15, I'd really like that!

So I set up a camera to record myself rigging for this morning's sail, hoping I could spot which steps could be done more quickly.


I've only reviewed the video once, but already I see room for improvement.
  • I've got a lot of clevis pins that use split rings.  Split rings are a pain and time consuming to attach and remove.
  • I didn't realize how long it took to set up my roller furler.  Room for improvement there for sure.
  • Too many lashings and bungee cords.  They take a significant amount of time to remove.

If you have any suggestions, please post them below.  Help!

Tuesday, January 21, 2014

My daughter's wedding

My lovely daughter Heather married our handsome and charming new Son in Law Kevin last September.  I made this video of the wedding that I think you may enjoy.  It was a lighthearted ceremony that was a lot of fun.  I built the wedding arch that they were married under, using my Shopsmith.  Heather and Kevin plan to use this arch in their yard when they buy a home together in the near future.  They were married at the Everett Yacht club, which has a spectacular view of the bay.  In the background is where I daysail Ellie. Directly behind and slightly left of the wedding arch is Hat Island.  Anyway, I hope you enjoy the video.

http://youtu.be/IkNXHoidurc

Tuesday, October 8, 2013

How to build a roller furler for under 25 quid.

Shortly after he bought a Falmouth Bass Boat 16, Barry Taylor began searching the internet for guidance on how to build his own roller furler.
Said Barry, "When I came across your web site, showing how to build a furler, I was immediately excited and inspired because you had provided very clear and easy to follow details of how to build one."

But Barry soon ran into a couple problems.  Indoor plumbing, as it turns out, isn't quite the same shape in the UK as it is in the US.
"I think the 3" black ABS cap is excellent and want to build one of these. The problem is I am in the UK and I can't get hold of black ABS, especially a cap with a relatively flat end to it (they're all slightly domed over here - and grey!). Lowes or Home Depot won't ship to UK so was wondering if anyone could offer me a suggestion how I might get a 3" black cap?"

I considered sending a cap to Barry, until I looked up the shipping costs, and nearly fell out of my chair!

But persistence paid off, and he was successful in getting the domed cap to work.  In fact, I find the shape quite attractive.  The cast stainless steel eyebolt Barry used also looks attractive and strong.  An excellent choice.

"I immediately set about researching how to obtain the necessary ABS end cap etc.  Anyway, to cut a long story short, I sourced all the materials, made my furler drum/bobbin from 6mm ply discs and a solid oak centre drum, painted it up black and white (because yours looks so smart in those colours) and hey presto I had a furler, for a fraction of the cost of a new one.  I used a thrust washer similar to the one you describe and bought the Spro Ball Bearing Swivel that you recommended."
Another problem Barry had to solve is a common one.  Barry's boat uses a fixed forestay, which required a modification to his bow fitting so that the furler and jib could be mounted aft of the forestay.
"I had to make a bespoke mount plate to enable the furler to be mounted behind the forestay such that there was sufficient clearance to prevent the jib snagging on the forestay when being furled." 


And finally, an adjustment had to be made to accommodate the available eyebolt length.
"I had to counterbore the centre of the furling drum because 6mm eyebolts only come 100mm long and this wasn’t quite sufficient to allow fitment of the thrust washer."


"The project is complete and the jib furls away beautifully."

Well done, Barry!  Yours is an excellent example of how this furler can be adapted to a variety of materials and sailboat rigs.  I hope you enjoy many years of smooth sailing with your hand crafted furler.