This blog is devoted to my John Welsford designed 15' Navigator yawl Ellie. I built her in my garage over a period of 18 months and launched her in 2011. She sports a sliding gunter main, roller furled jib and sprit-boomed mizzen. Her construction is glued-lapstrake over permanent bulkheads and stringers. This blog is a record of her construction and her voyages here in the Puget Sound area and (hopefully) a useful resource for fellow Navigator builders.

Saturday, July 6, 2019

Centerboard Maintenance

Ellie was launched in 2011. She has seen a considerable amount of use in the 8 years since her launch, both on the water and on the road. She’s been repainted several times, both inside and out, but her centerboard has never been removed and inspected since her launching. Time for some overdue maintenance!

To be honest, I was a little bit afraid of what I might find. Her centerboard has always worked perfectly, but that doesn’t necessarily mean all is well below the surface.

So I summoned up some courage, removed her pivot bolt, removed the centerboard and brought it to the workbench.


The board looked pretty darn good. A quick inspection revealed no major issues. No soft spots, wood rot, or significant damage anywhere, thank goodness. Just a bit of normal wear and tear.

The first thing I noticed was some missing black paint. My centerboard was constructed of Alaskan Yellow Cedar, sheathed in epoxy and fiberglass, sanded, and painted with Rustoleum alkyd enamel spray paint. One of the lessons I learned while building Ellie is that paint will only stick to epoxy if the epoxy is well sanded until it looks “frosty”. Epoxy cures to a smooth, shiny and slightly waxy finish that paint simply will not adhere to. Everywhere you see missing paint on my centerboard, you will also find glossy epoxy. These areas will get a more thorough sanding before they get repainted.


Paint was also missing in areas that get some wear and tear. The entire leading edge of the board is missing paint. I sail over the Snohomish river bar very often. The bar is sandy, shallow and thick with seaweed. You can see where the sand and seaweed has worn off the paint.
There is also a bit of missing paint on the sides of the board, where the board rubs up against the inside of the centerboard case.

And one ding on the bottom of the board.  I'm not quite sure where this came from.  I may have hit a rock at some point.  This will need to be filled with epoxy.
The area with the most wear is the area around the pivot bolt, as one would expect. Here the paint has been worn away, and much of the epoxy coating. Even the fiberglass has started to wear a little bit. It’s a good thing I decided to do this maintenance now, before it wore through the fiberglass and into the wood itself.


This wear can be repaired quite easily. I’ll give it a light sanding and a fresh coat of epoxy or two on the worn areas. Then the entire board will get sanded, followed by several coats of paint and the board will be as good as new.

The hole where the board pivots is in perfect condition. When I originally built the board, I made a "bushing" here by drilling an oversized hole in the board. I filled the hole with a mixture of epoxy, chopped fiberglass, and silica. After that cured I drilled a smaller hole through it for the centerboard pivot bolt. I did the same procedure in the centerboard case. This creates a hard, waterproof bushing that will never wear out.  The procedure is described in detail here.

It’s easy to forget to maintain your centerboard. Don’t let a small job become a big problem!

Monday, February 11, 2019

Nearshore Anchoring using an Anchor Buddy

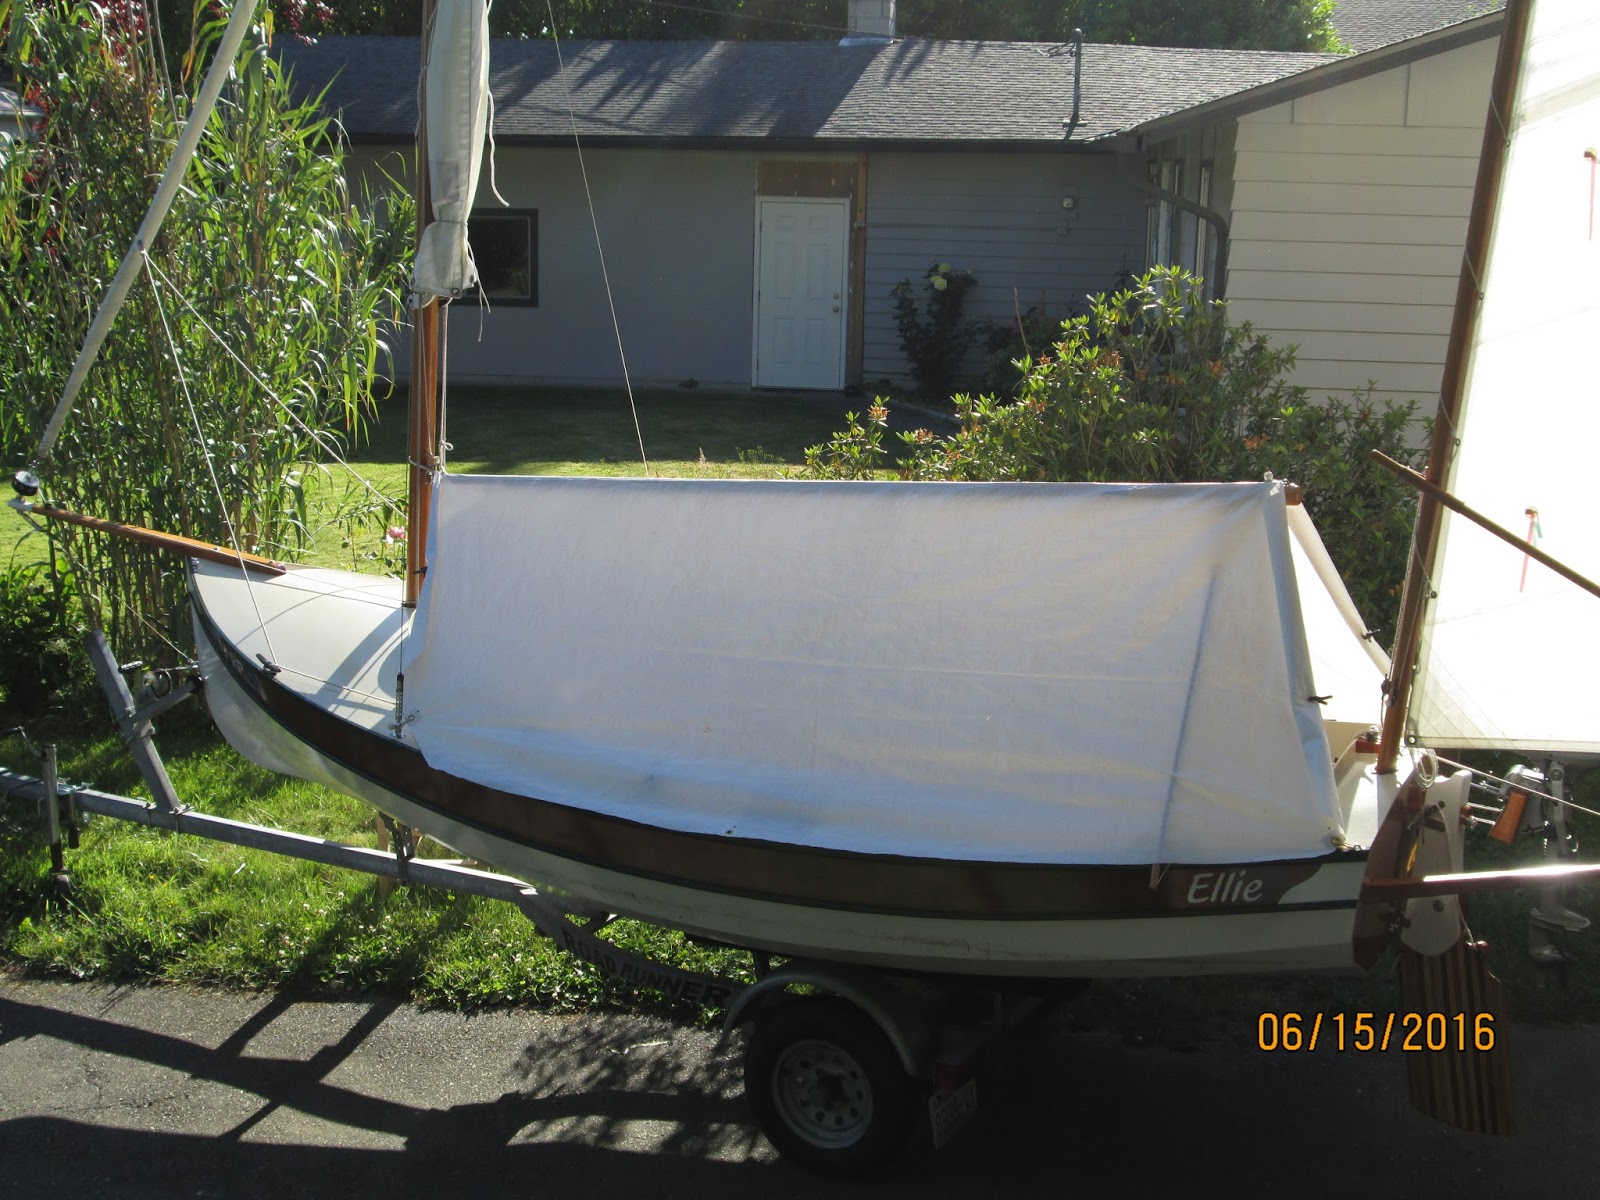
Ellie and friends using their Anchor Buddies at Fossil Bay, Sucia Island State Park, Washington
What is an Anchor Buddy?

Simply put, the Anchor Buddy can be thought of as an anchor rope that stretches. It allows you to anchor your boat about 35 feet offshore, in water deep enough to keep it safe from rocky beaches, boat wakes and wind. Its stretchiness allows you to pull the boat to shore (stretching the Anchor Buddy), where you can board, depart, or load and unload gear. When you’re finished, the Anchor Buddy retracts, automatically pulling your boat back out to deeper water.  The Anchor Buddy also allows many boats to anchor close together without bumping into each other, as you can see in the photo above.
The anchor buddy is constructed of 3/8 inch diameter surgical tubing surrounded by a woven poly outer sleeve. The tubing stretches like a bungee cord while the outer sleeve limits how far the cord can stretch (to prevent breakage) and provides great strength when the Anchor Buddy is stretched to its maximum length.
Rigging the Anchor Buddy

The Anchor Buddy connects between your anchor chain and rode. Here you can see the setup I use on my 15’ John Welsford designed Navigator yawl.


My anchor is shackled to 10 feet of ¼ inch chain. The chain is connected to one end of the Anchor Buddy (yellow). Additional Anchor Buddies can be connected in series if desired, with each additional Buddy providing an additional 35 feet of stretch. An anchor swivel is attached to the other end of the Buddy, followed by 100 feet of 3/8 inch nylon rode. When anchoring close to shore, I find that 100 feet of rode is nearly always sufficient, but I also carry along an additional 100 feet of rope in case I need more, and for use when anchoring out in deeper water.
Deploying the Anchor Buddy

To deploy the Anchor Buddy, begin by slowly motoring, rowing or sailing towards the shore so that you can survey it. The ideal shoreline will be devoid of large rocks or other dangers, but will also have a nearby tree, log, boulder or something else to tie your anchor line to.


When you get approximately 100 feet from shore, begin lowering your anchor to the bottom, and pay out line as you slowly approach the beach. When you arrive at the shore, exit the boat taking the remaining anchor rode with you. Begin pulling on the anchor rode. As you continue pulling the rode, you will feel the Anchor Buddy stretching. Continue pulling until the Anchor Buddy is fully stretched to its limit and the anchor will begin to set. Pull as hard as you can to ensure the anchor is fully set. Release the anchor rode and allow the Anchor Buddy to fully retract. Take the bitter end of the anchor rode and tie it to a tree, log or boulder, removing all slack from the anchor line without stretching the Anchor Buddy. Finally, return to the bow of the boat. Pull the anchor rode again until the Anchor Buddy is fully stretched. Cleat the anchor rode to a bow cleat. Give the boat a gentle push off the beach and watch as the Anchor Buddy retracts and pulls the boat 35 feet offshore.
What if there’s no tree, log or boulder to tie to?

If there’s nothing convenient to tie to, you will need a beach anchor, sand anchor or spike anchor. These come in a variety of styles. If you carry a secondary anchor, it will work perfectly well.  A compact solution that works well in sandy beaches is this auger style called a Tie Down Mate.
Tie Down Mate beach anchor
Coming and going

After deploying the anchor, suppose you want to do a little fishing, or participate in a sailboat race. Once you are set up, you can easily come and go without retrieving your anchor. Simply pull the boat to shore, climb onboard, let the Anchor Buddy pull you out, untie the boat and off you go. When you return, beach the boat where you anchored and get out. Pull the anchor line in, tie to your bow cleat and let the Anchor Buddy pull your boat out.
Dealing with tides

The areas where I sail often have tidal ranges of 13 feet or more. They also have shallow beaches that are less than 13 feet deep at 35 feet offshore. That means there is a good chance that my boat could go dry at low tide, possibly suffering damage. There are several ways to avoid that. One way, mentioned earlier, is to daisy chain two or more Anchor Buddies in series. Each Anchor Buddy will place the boat an additional 35 feet offshore. Another way, if the weather, your schedule, and the bottom conditions safely allow it, is to let the boat go dry until the tide comes back in.
Only allow boat to go dry at low tide if it's safe
Yet another way is to occasionally move the boat closer or farther away along the anchor rode as needed. If the tide is going out and the boat is getting too close to shore, re-adjust it by un-cleating the rode, stretching the Anchor Buddy to its limit, and re-cleat it. Conversely, if the tide is coming in and the boat is getting more than 35 feet offshore, re-adjust it the same way.
When I sleep overnight on my boat, I always ensure that I won’t go dry at low tide during the night. To do this, I climb onboard, untie the anchor rode from the bow cleat, pull the boat well offshore and re-tie it there. Then I set up my boom tent and enjoy a worry-free night’s sleep.  I can pull myself back to shore whenever I need to.
Safety

According to the manufacturer, the Anchor Buddy is intended for temporary anchoring/mooring only. It has a 4000 pound capacity which far exceeds the weight of my cruising dinghy. I have used it for many years and I am confident using it overnight, especially considering how the boat is also anchored to shore. For increased confidence, a 45 foot long line can be connected alongside the Anchor Buddy. This will keep the anchor attached to the boat if the Anchor Buddy were to fail, while still allowing it to stretch and function normally.


If you’re ever in the Puget Sound area and you see a small yawl anchored in a cozy cove, there’s a good chance it will be me, and my “Buddy”.

Monday, June 20, 2016

New and Improved boat tent - version 2

Boom tents are a common way to provide overnight shelter on an open sailboat. They can also provide shade at anchor on a hot summer day.  Here is how to make a simple and serviceable boom tent from an inexpensive polytarp, some plastic grommets and a little bit of duct tape.  It only takes a few hours to make, and guess what?  No sewing is required!


This tent is inexpensive and easy to construct.  It fits and functions well, it's quick to set up, and it's bright inside.


This tent is made from heavy duty white polytarp.   I recommend 12 mil thickness and go with white because it'll be brighter inside.  Have you seen those 10x20 foot temporary carports?  If you buy a replacement tarp for one of those it's the perfect size for this project.  Do not cut the polytarp with scissors or it'll fray at the edges!  Instead, use a soldering iron or hot knife along with a metal straight edge on a glass table top.  This will cut and melt the edges or essentially "cauterize" them.  This will prevent the tarp from fraying and save you a lot of time since no hemming is required.


Ideally the main sail should be stored outside the tent, not inside where you're sleeping.  The last thing you want, after sailing in rainy weather, is a wet sail dripping on you

I lash my mainsail to the gaff and raise the whole affair up the mast prior to setting up the tent.  After the tent is set up, I lower the gaff/mainsail combo back down so it rests on the boom.


The boom is supported with a boom crutch.  This holds the boom in place securely.  Snugging up the mainsheet and boom vang lock the boom in place. The ends of my boom crutch simply attach to the stern cleats with a loop of rope.


The tent is secured with bungee cords.  The same type of bungee cords they use on those portable carports.


After the boom tent is set up, I lower the gaff (which still has the mainsail lashed to it) down so it lies atop the boom, securing it in place with a bungee cord from the end of the gaff to the mizzen mast.

When not in use, I store the boom tent under the port seat.  I added quarter-turn hatches to the front of bulkhead 5 to provide a new storage area for the rolled-up tent and boom crutch.


The tent can also serve as a sun shield on hot summer days by flipping one side over the boom (folding the tent in half along the boom).  My Navigator sleeps one or two in comfort using my sleeping platform.

Is there room for improvement?  Of course. Fabric may be a better choice of material.  Then fancy windows, doors and mosquito netting could be added.  But overall I am quite pleased with the results.  This boom tent started out as a temporary solution.  As of this writing I've been using it for over 8 years.

You can download plans for the boom tent but you'll need to modify the measurements to fit your Navigator.


Wednesday, September 16, 2015

Tuesday, July 28, 2015

My dinghy cruising packing list

The key to organization is simple.  Just remember to PEEP.
 
Have a Place for Everything, and Everything in its Place

I always bring the same items and store every item in the same place for every trip.  A little organization goes a long way when you need to find something.  I try to bring only what I need, and I try to use items for multiple purposes whenever possible.  I only bring extras of items that are crucial.

Because it's unsafe, I cannot tolerate having things out where I have to walk on or around them.  I store everything in the lockers, under the thwarts and the side decks. Once everything is packed away, it looks like I'm not bringing anything at all, even when my son and I go on a week long cruise.  That's not easy to do in an open boat unless you are well organized.

Here is the packing list that I use.  As you can see, it lists each place on the boat and the items that are always stored there.  I use soft-sided cooler bags for food, drinks and cooking gear.  Four of them fit nicely on the front thwart.  I use backpacks for clothing, stored in the dry locker.   I use roll-top drybags for foul weather gear, stored under the aft thwart where I can quickly get to it.   I use a watertight box (a plastic ammo can) that is always within arm's reach for important frequently used items. These various containers are all marked with an asterisk and list their contents.

Most of this stuff stays on the boat permanently.  Usually all I have to pack for a trip is food and clothing, but I always go through this entire checklist before every trip to make sure nothing is missing or needs replacement.  I also update this checklist whenever anything changes.
 
You can download and customize this list for your own use by clicking here 


Sailing with Andrew's Navigator Wren

Sailing Ellie alongside my friend Andrew's beautiful Navigator Wren at the Port Townsend Pocket Yacht Palooza Crooza around Marrowstone Island, Washington was a real treat.
 

Andrew did a magnificent job building Wren. Her beautifully varnished seat tops and laminated tiller are especially beautiful.  I love her colors, and envy the batten arrangement in her mainsail, which allows the main to be dropped without removing the battens, unlike mine.  Comparing boats was a learning experience for us both, as we pondered  each other's ideas.  There are more photos of Wren here.

The Palooza and followup cruise were both fantastic.  We had every kind of weather, which made the trip quite interesting.  It was great meeting John Welsford again, albeit briefly, as John was quite busy tending to his Scamp Camp.

For more photos of the Pocket Yacht Palooza and Cruise, click this link.

Can't wait to do this again next year!

Tuesday, November 18, 2014

What happens when Stitch-and-Glue boats get old?

I came across this excellent article entitled "What happens when Stitch-and-Glue boats get old", posted on John Harris's blog "The Life of Boats".

John illustrates how epoxy-coated plywood boats age, and provides info on how to maintain and repair them.  It's an excellent article with very valuable info.

Here is the link to Part 1, and Part 2.